How To Create Your Own Printable Bookmarks Using Canva
If you’re like me and you love to read books then you probably own quite a few bookmarks and you may even have wondered if it would be possible to create your own printable bookmarks.
Buying premade bookmarks is okay but let’s be honest they’re often not as cute as we’d like them to be.
That’s why I’m sharing this tutorial on how to make your own printable bookmarks using the free online graphic design platform Canva.com!
With just a few clicks, you can create beautiful bookmarks that are totally personalised and easy for you to print at home. So let’s get started!
If you buy something from the links on this page, I may get a small commission. Read my affiliate disclaimer here.
How To Create Your Own Printable Bookmarks In 5 Easy Steps
Step One: Join Canva.com
Head on over to Canva.com and create a free account. Creating a free account on Canva is quick and easy and will only take you a few minutes.
Step Two: Create A Design
Once you’re logged in, click on the “Create a design” button in the top-right corner of the screen. From there, select “Bookmark” from the list of design options. This will create a blank bookmark template that is 2 inches wide and 6 inches high.
If you want to create a bookmark in a different size then instead of selecting the bookmark template you can instead click on “Custom size” and type in the size you require.
Step Three: Choose A Template
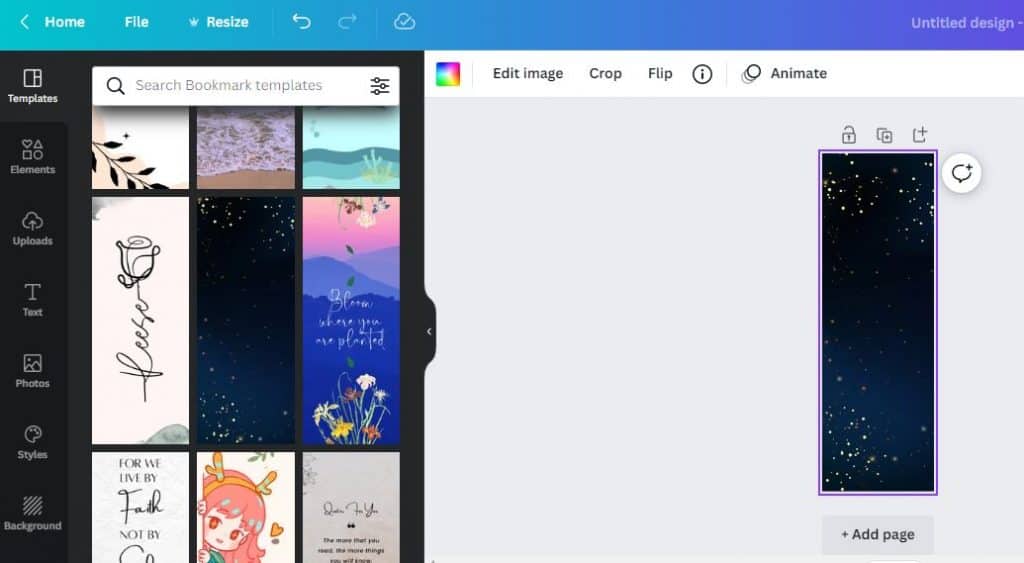
On the next screen, you’ll see a variety of templates to choose from. For this tutorial, we’ll be using the “dark blue night sky” template.
But feel free to choose whichever template catches your eye! Once you’ve selected a template all you have to do is click it and it will be added to your blank design.
If you want to upload your own images then click on the “Uploads” tab in the left-hand sidebar and select the image(s) you want to use from your computer files. Once they’re uploaded, you can drag and drop them into place on your bookmark design.
Step Four: Customise Your Design

Now it’s time to start customising your bookmark! First, let’s add some text by selecting from the left-hand menu and clicking on the add a heading button.
Once the text shows on your bookmark document simply type whatever text you want.
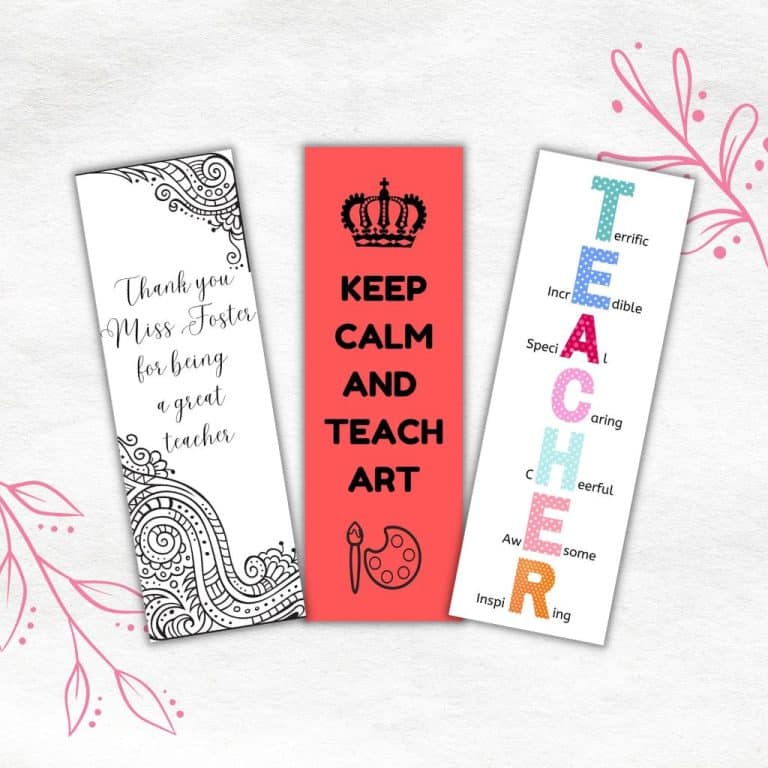
If you need some quote inspiration then check out my list of 75 art captions and quotes or you can simply use the same quote I have which is “Reading a good book is like taking a journey”.
Then, use the built-in tools to change the font, colour, and size of the text as desired. You can also add additional elements like lines or shapes by clicking on the “Elements” tab in the left-hand sidebar.
Step Five: Download & Print
Once you’re happy with your designs and have created as many bookmarks as you like, then all you have to do is print them, and cut them out.
And that’s it! You now have a personalised bookmark that’s ready to use. 🙂

Tips On Printing Your Bookmarks Correctly
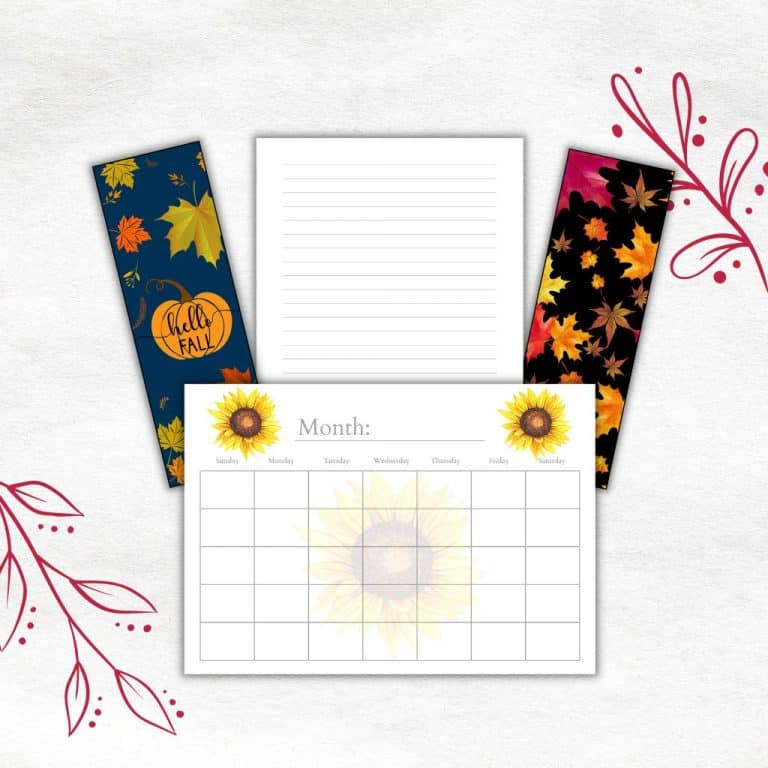
If you want to create more than one bookmark then I recommend creating them in batches of 3 or 4, as that way you can print them all on a single sheet of paper.
You do not want to simply download your designs straight from Canva as a pdf document and try to print them out, as the size of the bookmarks will be all wrong.
Instead, you have to take a few extra steps in order for them to print them out correctly.
First, click the “Share” button in the far top right-hand corner of the screen and then you will see the option to download your design.
Click the “Download” button and select file type “JPG” and then hit the download button again. This will download all your bookmark designs together as a zip file. Extract the files and save them.
Then upload your bookmark jpg images into Canva by clicking on “Uploads” on the left-hand menu. This will show an “Upload files” button under the search bar.
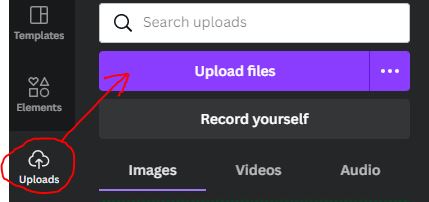
Click on upload jpg files and locate the bookmark images you want to import into Canva.
Finally, you need to add your bookmark designs to your blank bookmark template printable, which will allow you to print up to 4 bookmarks in the right size on a single sheet of paper.
What Should You Print Your Bookmarks On?
Go for a thicker paper when choosing the material for your bookmark, but not one that’s as heavy as cardstock. Something in the range of 150-250 gsm would be ideal.
The finish is also key – if you’re using recycled or natural paper, you won’t need any additional finishes, but the coated paper may work even better with some lamination added.
What Size Should Your Bookmarks Be?
The standard bookmark sizes are:
- 2 x 6 inches
- 2 x 7 inches
- 2 x 8 inches
Can You Only Use Canva’s Images?
Nope, you can upload images from wherever you like into Canva and then use them on your bookmark design.
My favourite place to download all my images from is Creative Fabrica because they have a crazy amount of options available for graphics and the list keeps growing every day.
Conclusion
Creating your own printable bookmarks is a great way to add a personal touch to your reading experience and it’s so easy to do using Canva.com!
With just a few clicks, you can design beautiful bookmarks that are totally unique and super affordable.
They also make great personalized gifts for friends and family members who love to read. So what are you waiting for? Give it a try today!
If this Canva tutorial has left you feeling inspired then you may want to check out these posts where I show you how to make your own quote coloring pages and Christmas border paper printable for free.